![]()
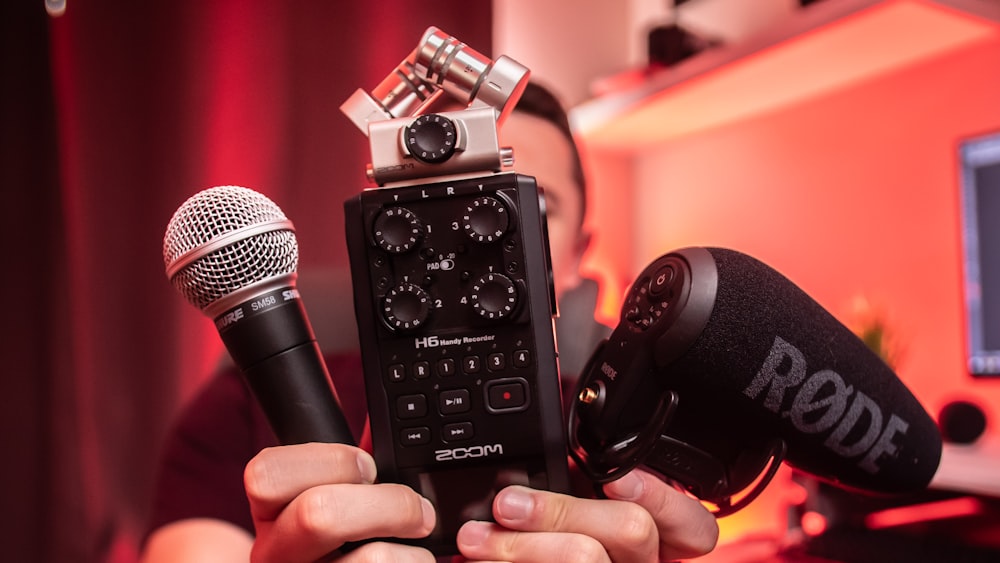
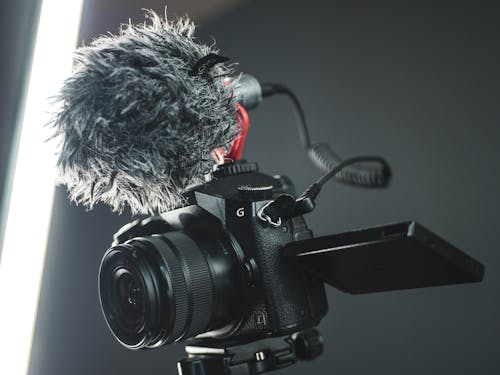
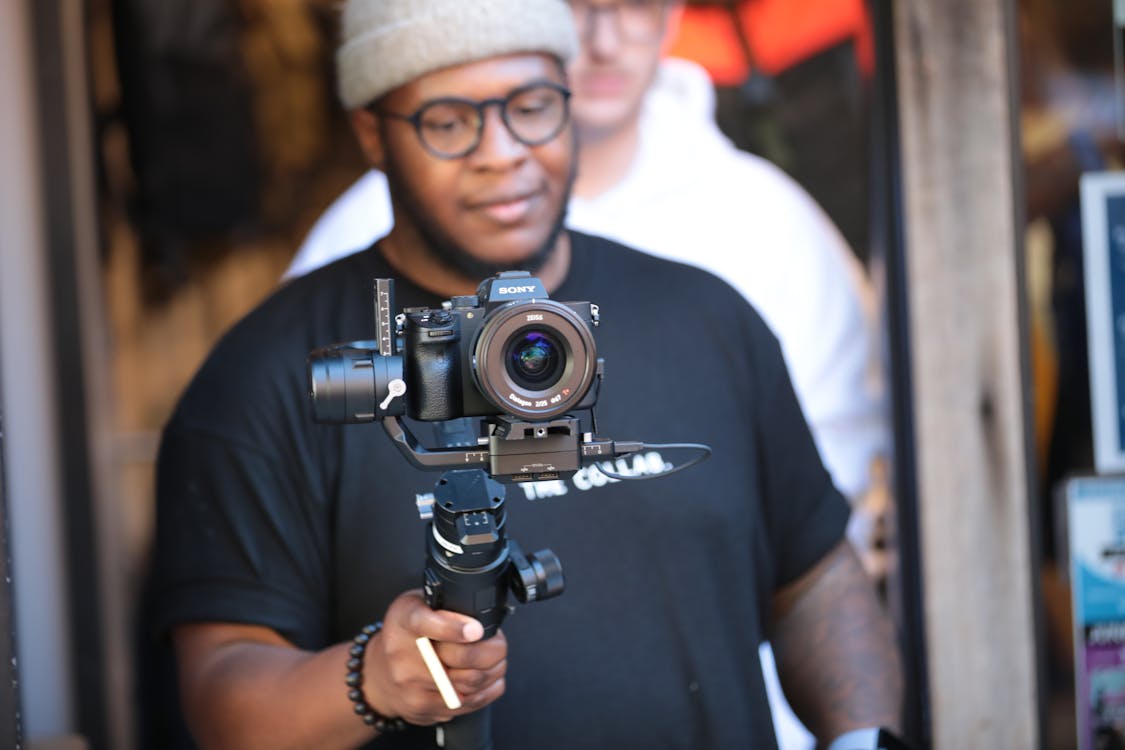
Equipment such as cameras, tripods, audio recorders, microphones, green screens, lighting, and much more are available for checkout through the CMS. For a full list of equipment visit our equipment page.
![]()
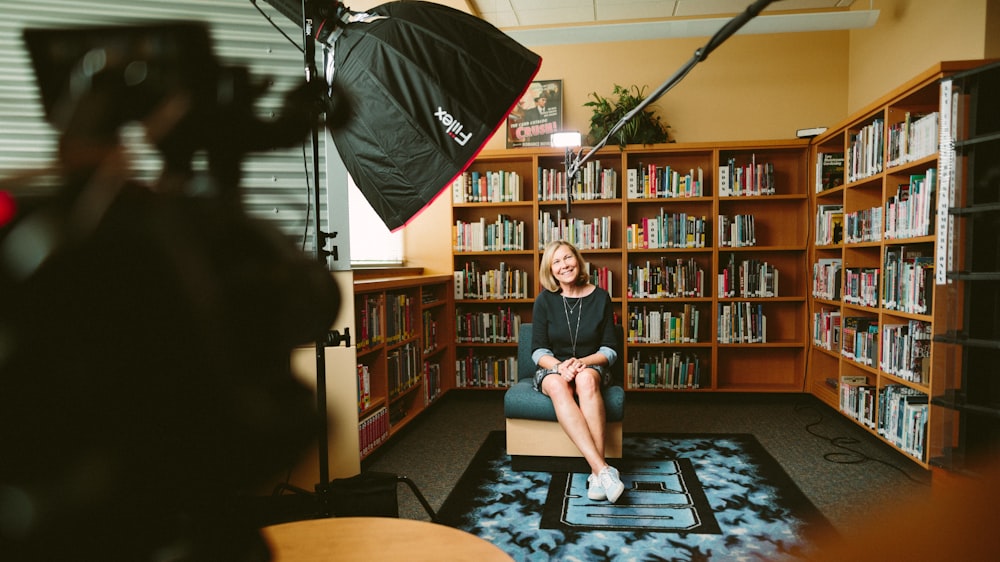
Located inside of the Creative Maker Studio, the on-site reservable audio recording room is the perfect place for those needing a space to record and produce podcasts, voiceovers, music, and more! Reserve your spot now!
![]()
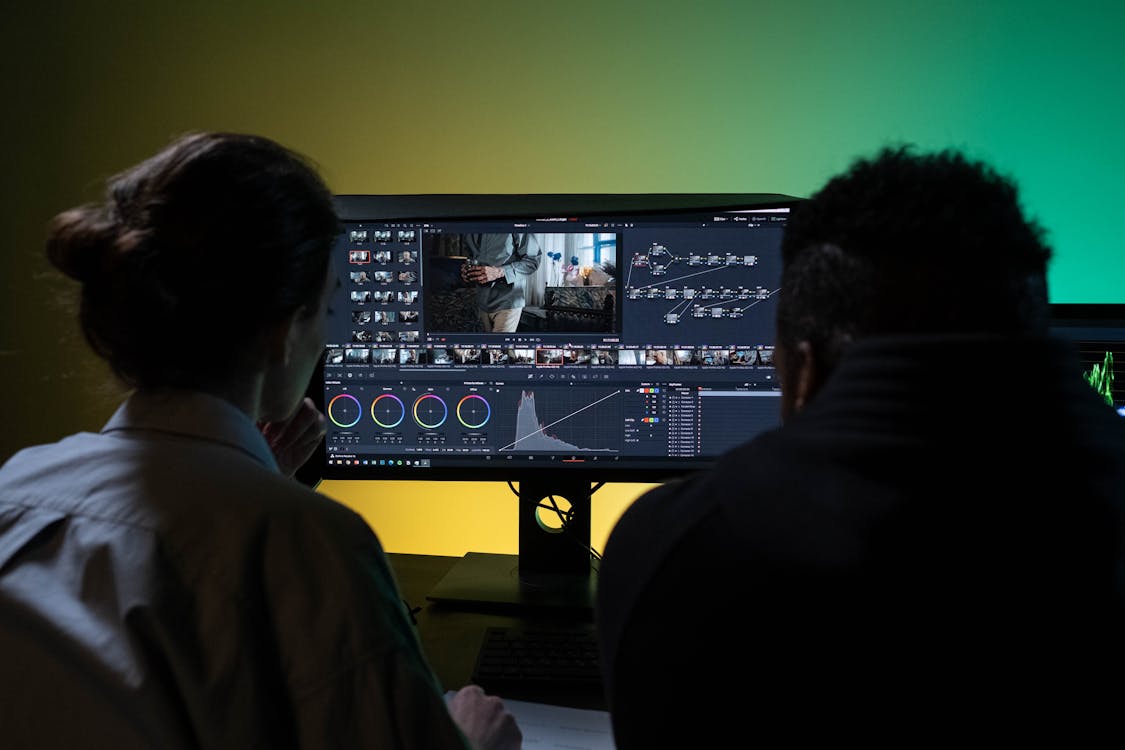
High-end HP and iMac computers adjacent to the CMS loaded with industry standard media editing/digital design software are available to CSUN students during CSUN University Library hours. For more information on computer specs and software available visit our computer/software information page.
Video creation is a powerful medium that combines video, visuals effects, audio, music, and graphics to create a cohesive piece that conveys information in a concise, entertaining way.
While video production can be daunting, you can still create professional looking content with simple tools and equipment described in this guide. If done right, this visual medium can be very rewarding when complete!. So what will you need to start filming?
Keep reading and learn about guidelines to consider to create simple, compelling, professional looking video content at an introductory level.
https://blog.givegab.com/9-guidelines-for-creating-video-content
https://www.vidyard.com/blog/video-production-guide/#video-equipment-and-software
WeTransfer - Free file sharing website for files 2GB or less. Premium plans available.
TransferNow - Free file sharing website for files 5GB or less. Premium plans available.


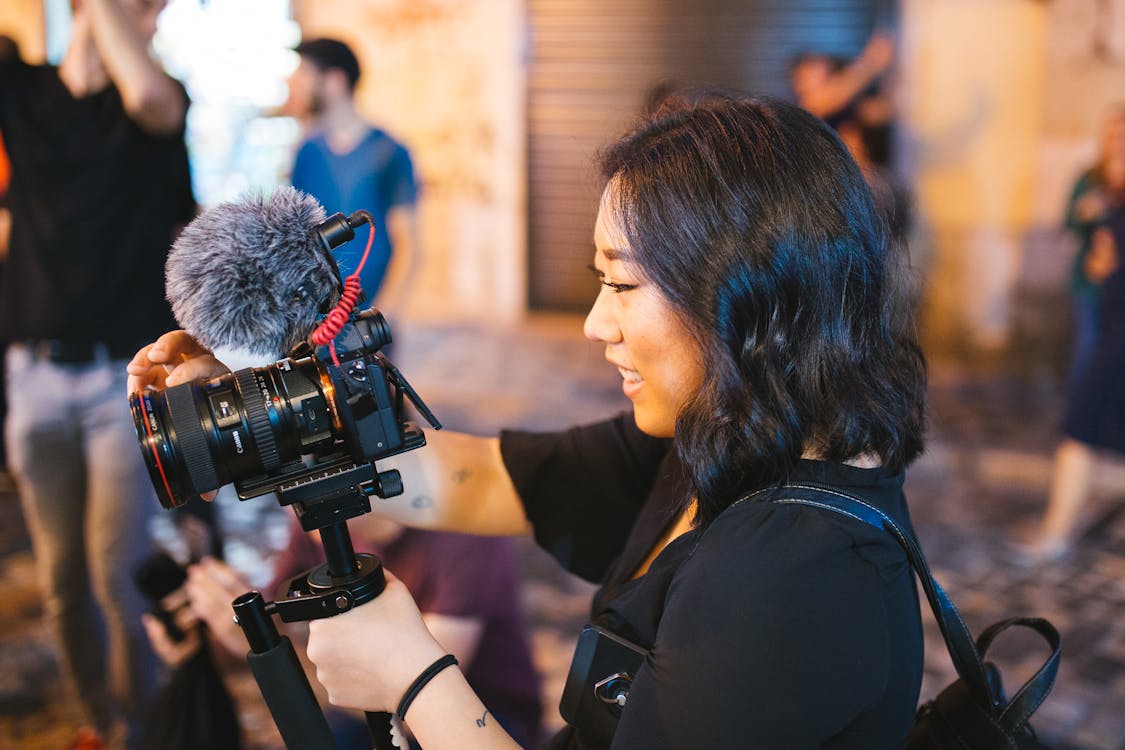
Video capture can be done on many different devices. Popular camera types include:
Picking which camera to use can depend on style desired, budget, and overall familiarity with the device.
Yes, you can film with your cell phone! In fact, most modern smartphones have really good video quality that can be comparable if not better than camcorders and point-and-shoot cameras.
Avoid filming in vertical video. Always orient your phone horizontally unless you want to achieve the look of a TikTok or Reels video for your project. Landscape shooting promotes a more aesthetically pleasing viewing experience when watched on a widescreen.
The type of video quality you want directly links to how your video will be distributed and seen. Below are the most popular video resolutions and their uses:
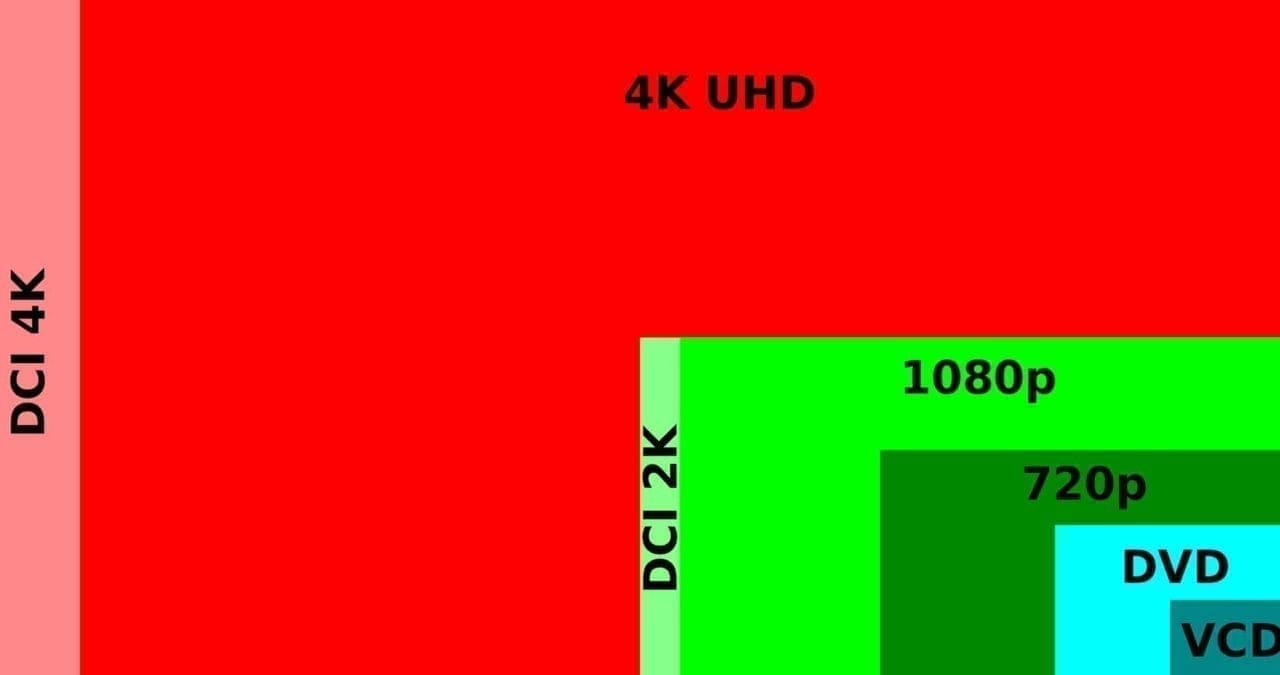
The higher in quality you go, the more SD card memory and speed you will need to capture your footage. Keep this in mind when filming!
Frame rate is the speed at which images are shown usually expressed as frames per second (FPS). Frame rates greatly impact the style and viewing experience of a video. Higher frame rates will also increase file size and export times. Common frame rates and uses:
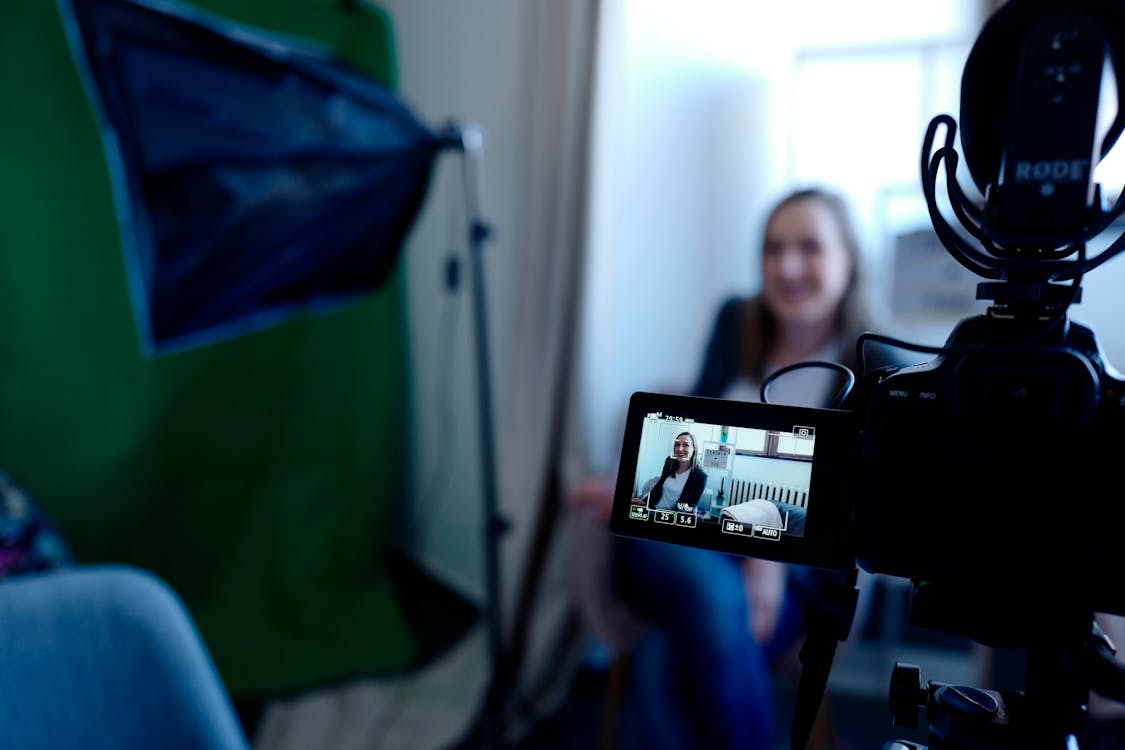
Audio makes up around 50% of your videos and is often overlooked. Crisp, high-quality audio can elevate your videos from amateur to professional with these important concepts.
While most video cameras have a built-in microphone, using it to record is highly discourage. Built-in microphone quality is very low so you will not get the best results. Instead, record audio using an external mic that plugs directly into the camera itself or a separate recorder. You can even use your smartphone as an audio recorder with the proper apps/setup! Here are the pros and cons of recording on-camera vs. on separate recorders:
On-Camera Pros:
On-Camera Cons:
Audio Recorder Pros:
Audio Recorder Cons:
Once you weigh your options and pick a recording method, here are some other tips to consider when you start filming:
Learn about film microphones below. For tips on Audio Recording and Editing, check out the Audio LibGuide.
Ready to record but don't know which microphone to use? Learn about the best mics for video production:
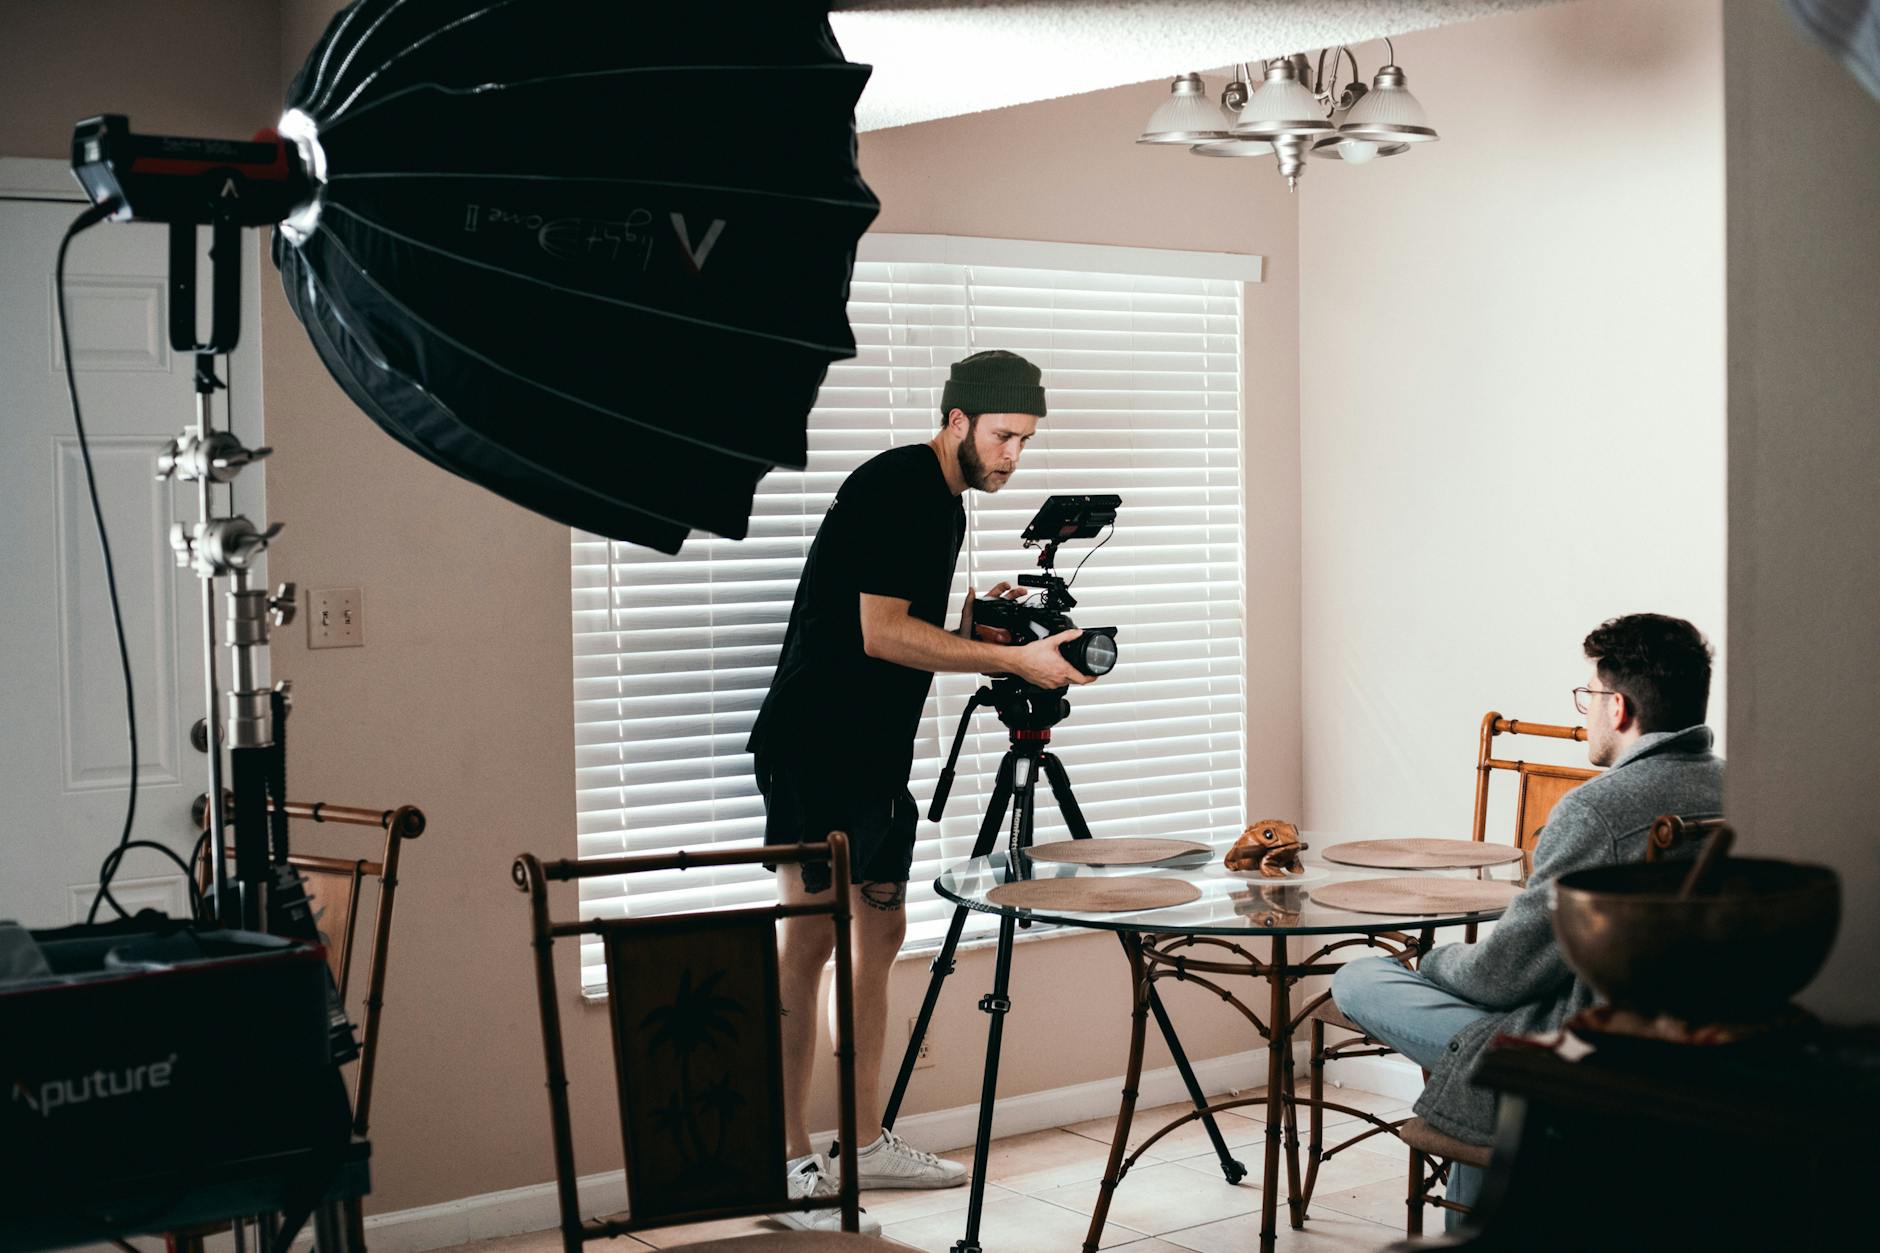
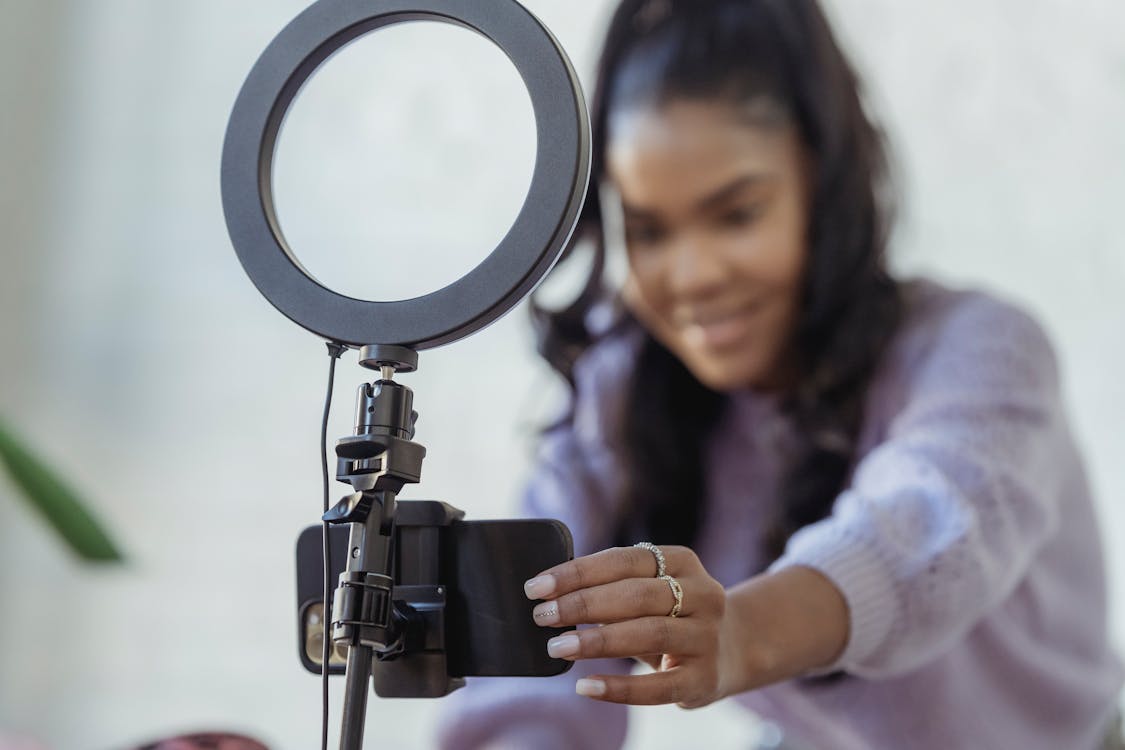
Try to film in a bright, well lit location to avoid having to use external lighting. Shooting in the early morning, late afternoon, (9 am or 5 pm) or on a cloudy day are great times to film because there are fewer shadows.
If your video does require external lighting or enhancers, here are few popular options and their benefits:
Almost all video shoots will require some kind of camera stabilization. Shake-free footage looks more professional and less like a home video. Once you become more comfortable with the camera, you can move up to camera stabilizers that will help you film while on the move.
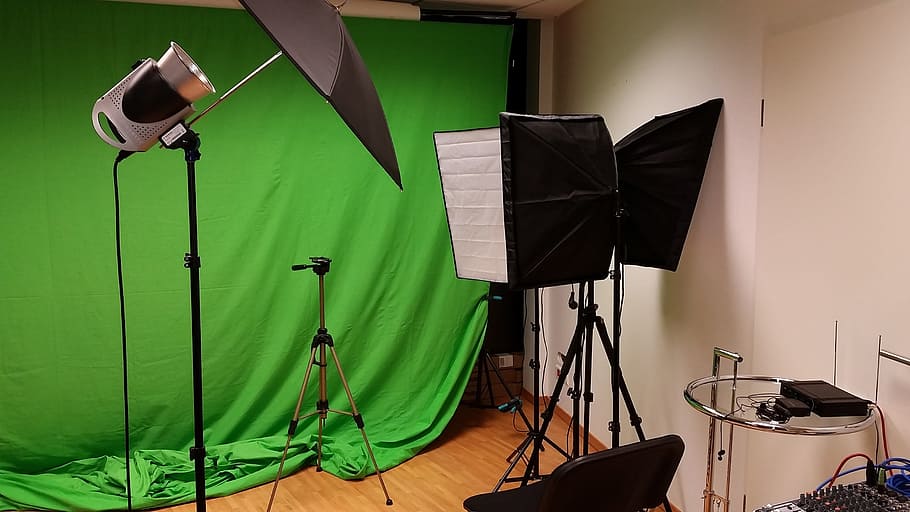
Video backdrops can impact the mood you want to create. Backdrops provide a smooth, uncluttered background to your videos which can eliminate distraction. They are most commonly used in documentary-style, interview heavy videos.
You can also use greenscreen backdrops to key out the background and superimpose another image or video behind it. The more even the lighting, the better so external lighting may be needed.

In filmmaking, you should always record a scene from different angles to give your editor more footage to work with. Think of coverage as: record more than what you need, do multiple takes, and try different angles if possible. Keep in mind these core concepts:
Composition refers to how elements are arranged within the frame to convey a certain message or feel. There are rules filmmakers follow to make their imagery look natural and keep the viewers interest. For aesthetically pleasing shots, follow these compositing rules:
Need to screen record movement and action from your computer or phone? Free screen recording is usually built into most major computing platforms. See this guide for more information.
If the built in methods don't give you enough options, you can also still use the following free programs to record:
QuickTme (Mac only, Windows is old version)
- Using Screenshot in the QuickTime Player app, make a video recording of your computer screen and save it on your Mac.
 FreeCam (Windows only)
- Create screencasts, edit recordings, and upload to YouTube or save as a MWV video file.


Story Arc - The classic narrative arc makes it easy for the viewers to follow along with the story, engages them, and keeps them watching till the end.
Four P's - When brainstorming ideas, think about these four pillars:
Keep it short! - When working on your video story, try to make it as short and clear as possible. If you can say something in 10 seconds, don’t spend a minute on it!
Attention Grabber - Humans reportedly have an 8-second attention span and if social media has taught us anything, it's that attention spans are going down even more with each generation. Try to illustrate your point quickly and clearly using hard-hitting facts, questions or sketches at the beginning of your video to keep them wanting to watch more.
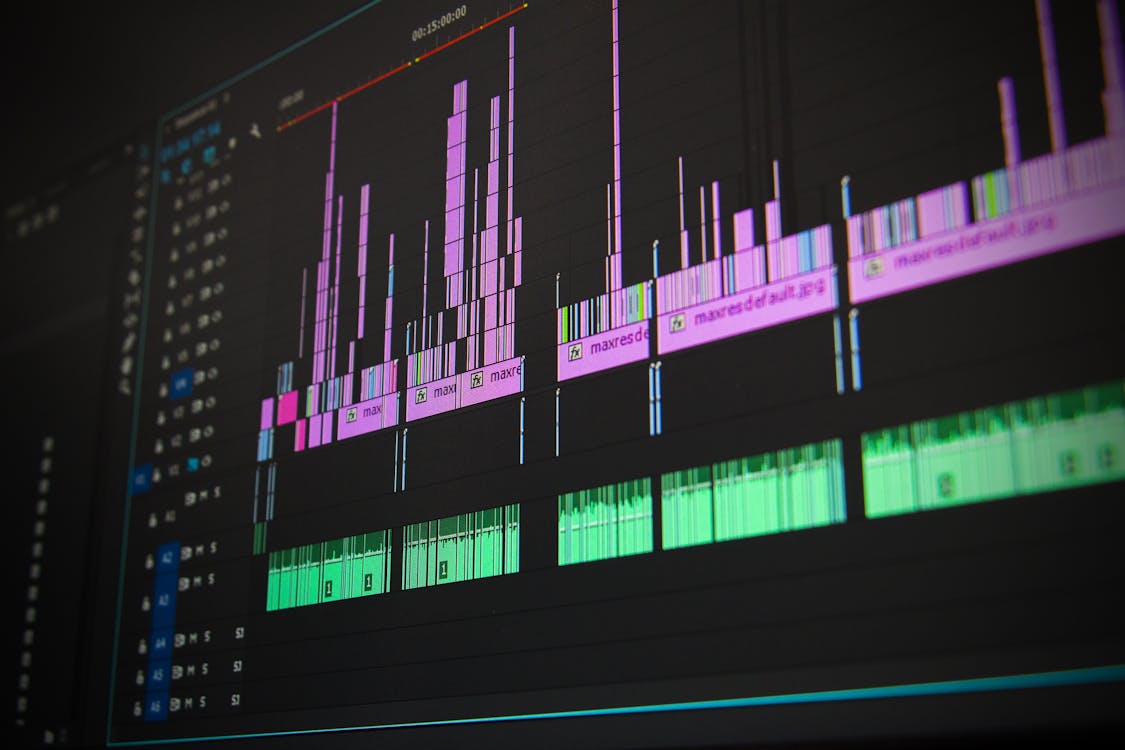
So, you've finished recording all of your footage and are ready to begin post production. Probably one of the most important and time consuming aspects of your production process, Video Editing involves cutting and compiling footage into a cohesive, watchable piece and exporting it as one final video file.

When editing, organization of files is key! Without it, you may run into linking issues where the editing program cannot locate your files to edit.
Always create a folder on your computer (or hard/flash drive) and upload ALL your files into one place. Create sub-folders such as:
If using a hard/flash drive, ensure it is plugged in at all times when editing. If your computer has limited memory, you may need to save the project file on the computer and your footage to a hard/flash drive. NEVER work off of the camera's SD cards when editing.
Next, review the footage and delete/archive unwanted files. Then, rename your files using keywords that will help you locate them for importing.
There are countless video editors out there that can range from free to over $1,000. When picking the best program for you, consider your budget, skill level, OS compatibility, and your overall accessibility to the program.
As CSUN students, you have access to the following video editors at no additional cost:
- Available to download and install by submitting a request to the IT Help Center. Best pick overall for editing programs thanks to its user-friendly interface that is used by professionals all over the world. Mac and PC compatible.
- Available for free for Apple users (iMac, MacBook, iPad, and iPhone) and on Library iMac Computers. Best program for novice filmmakers. Combines professional trailers and themes, abundant special effects and an easy-to-learn interface. Compatible with Mac only.
- Available for free on Library West Wing iMac Computers. Comparable to Adobe Premiere Pro, Final Cut Pro has a similar interface as iMovie with more advanced editing options. Compatible with Mac only.
- Available for free on Library West Wing PC Computers and to download. A powerful pro-level editing software with a learning curve. Good for editing, color correction, audio production, video effects, and motion graphics. Mac and PC compatible.
Other editing programs to consider:
- Available for free from Microsoft. Good entry-level video editing software but many limitations. Best for making a simple one-timeline movie or slideshow. Compatible with PC only.
- Free video editing software with professional-grade VFX tools. Perfect for beginners, film students, gamers, and YouTubers. Mac and PC compatible.
- Available for purchase for $54.99/year. One of the fastest video editing systems around, supports 360-degree VR footage with straight forward interface. Mac and PC compatible.
- Available for one-time purchase for $99.99. Powerful but easy-to-learn editor that supports 360-degree VR and 4k support and motion tracking. Compatible with PC only.
- Online video editor that helps in creating professional marketing videos. It offers collaborative functionalities such as project sharing, commenting, and co-editing. Free version allows 5 min export length at 720p resolution.
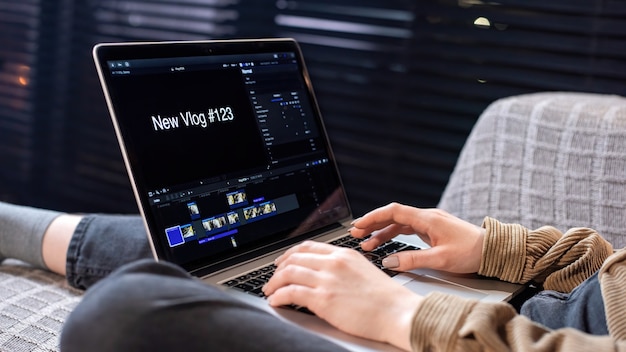
Editing can vary depending on which software you use. However, many share similar workflows and interfaces so if you master one, the learning curve for the next is much lower. While it takes years of trial and error to feel completely comfortable inside these programs, with practice and effort, you will find this process very rewarding.
The steps below will help guide you through the editing process as a beginner:
Importing into Editor
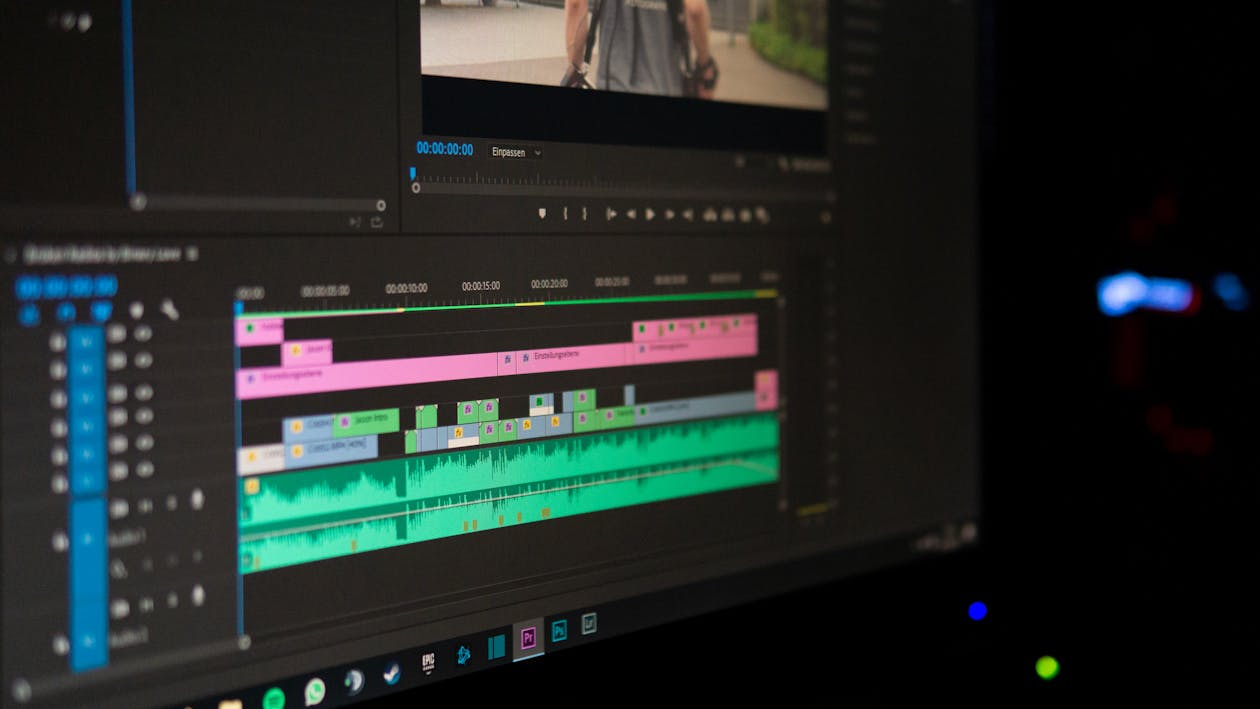
Timeline & Editing
Editing Language:
| Video Transitions/Cuts: | Titles: |
| Fades - Most common type of transition that can fade from black or white | Main - Text that introduces video or transitions in the story |
| Cross Dissolve - Gradually transitions to next clip by dissolving previous clip | Subtitle/Caption - Transcription or translation of dialogue for accessibility |
| Wipes - Replaces clips using animation. Grabs attention but rarely used | Informational - Text explaining elements or actions in a scene |
| Jump Cut - No transition used, scene abruptly changes to next clip | Lower thirds - Gives information about something or someone |
| Cutaway - No transition used, scene cuts to related clip to show action | Credits - Acknowledgment of personnel who worked on project |
| Cut on Action - Cutting with matching actions from two clips | Safe Margins - Barriers to keep text within a title to avoid cutoff |
SAVE YOUR WORK FREQUENTLY!
Encoding is the process of compressing and changing the format of RAW video content to a digital file format that is compatible with different devices and platforms. For most video editing software, this entails exporting the project using a specific video codec that is supported by the platform you want to share it to. Differences in codec compression:
| Lossy | Lossless |
| Creates smaller file sizes by leaving out some video data but results in lower video quality. | Larger files size but keeps all of the data from the original file resulting in higher video quality. |
Common Codecs and Video File Types:
Codecs:
Video File Types (container):

All in all, a good rule is that if size ISN'T an issue, export to the highest settings and quality you can using the information above.
If file size IS an issue, then your best option would be H.264 in an MP4 format which is the standard for uploading video for Blu-ray discs and for Vimeo, YouTube, and other popular online video outlets.

So you followed this guide and finally reached the finish line of video production! The final step is to share your work with the world.
The choice of the right file-sharing platform mainly depends on your personal or professional needs. Below are some examples of the most popular sharing resources for those who just need to easily share large video files or who want to upload their content to the web.
File sharing:
- Active CSUN students have access to the cloud-based storage & sharing solution Google Drive with unlimited storage (may change in 2022).
- Active CSUN students have access to the cloud-based storage & sharing solution Box Drive with 50GB of storage available.
- Cloud-based storage & sharing solution for videos and files. Free subscription available with 2 GB storage with upgraded plans starting at from $9.99/month
Video streaming:
- With more than 2 billion active users, it is the most popular video-streaming platform. Unlimited video uploads at no costs and a maximum upload size: 256 GB
- Popular video-sharing platform that offers a wide range of specialized service solutions. Vimeo does not offer unlimited video storage with only 5 GB with free subscription. Vimeo premium plans start at $7/month.
Report ADA Problems with Library Services and Resources. Resources on this page may require Document Viewers